The Hollow PETAPETA PETAPETA Loadout Tier List
Rank shop and quest items for Hollow Ofuda clears and everyday hotel survival.
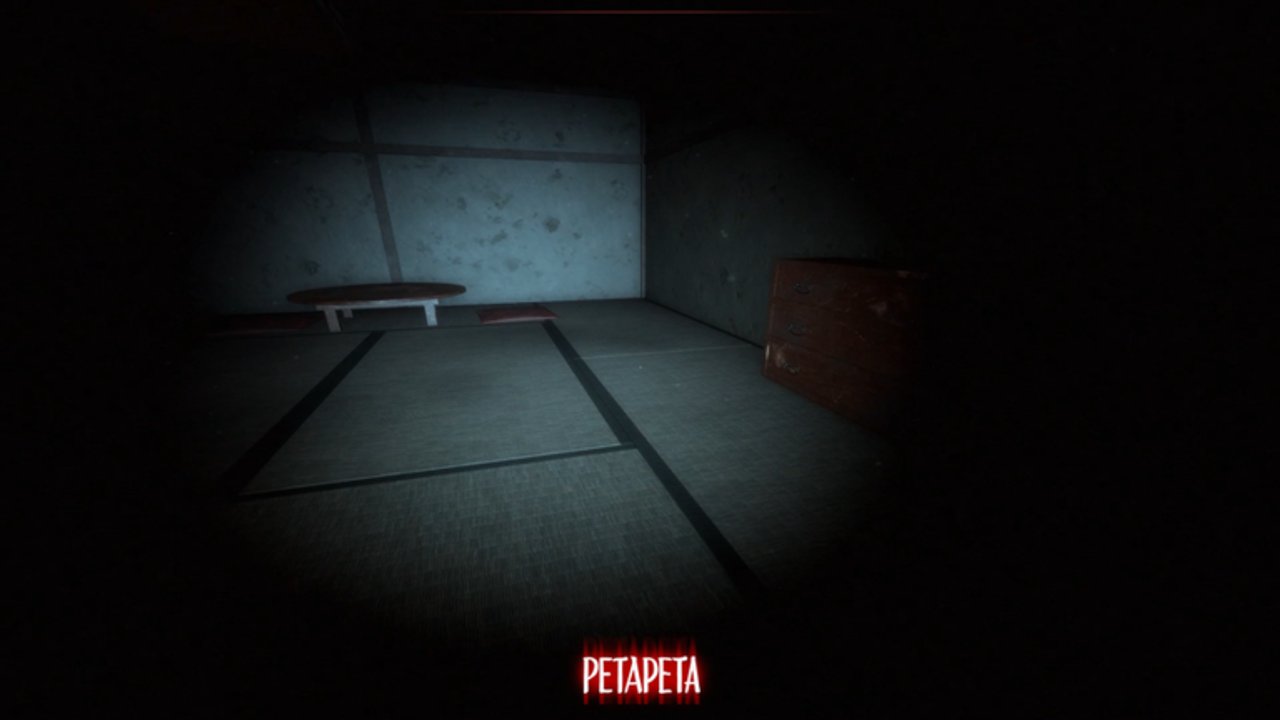
This Tier List Hub ranks the items that actually change survival odds in PETAPETA by Omochi Studio—not character gacha units. Currency is Zeni (earned in-run, spent in the lobby shop) plus optional Robux passes for revives and premium upgrades. Rankings below prioritize The Hollow PETAPETA Levels 1–3 Ofuda route first, then note how value shifts on deeper normal clears.
Criteria: impact on finding Keys/papers/safes, chase escape, panic tools, and quest-critical objects. Prices drift with shop updates; treat tiers as priority order when your Zeni wallet is thin.
S tier — buy or equip first
Onigiri (stamina)
Onigiri raises stamina recovery / effective sprint uptime. In PETAPETA, stamina empty means you cannot run during the worst chase windows. For Hollow Floor pushes and Level 2–3 safe dialing, stamina is the difference between reaching a closet and eating a jumpscare death. Small Onigiri is the efficient early buy; larger tiers scale when you farm more Zeni. Robux “extra large” versions exist for players who hate re-buying timers.
Why S: Universal. Helps every queue size (solo / trio / five). Never turns off on late floors the way poppers can.
Better / Powerful Flashlight (vision)
Base flashlight works, but upgraded beams make Level 2 papers, safes, eye-banner doors, and red-smoke silhouettes obvious sooner. Set graphics to manual 4+ so the light does not fail mid-search. Shop Zeni tiers (Better ≈ brightness +1, Powerful ≈ +2 for timed sessions) are the backbone of clue hunting described on Safe Codes.
Why S for Hollow: The event fails when you cannot find the peephole room or memo quickly while PETAPETA patrols.
A tier — strong, situational peaks
Party Popper (stun)
Party Poppers emit a loud pop that stuns PETAPETA for a short window (roughly a few seconds). Cap purchases (commonly up to five) and spend them when the monster is already close—not as a scouting tool. They shine while you stand still matching katakana rings or placing Ofuda.
Caveat: Value drops on late normal floors; some final chapters disable poppers entirely. For Hollow’s early three levels they remain A, not free wins.
Revives (Robux / shop)
Revives save a failed chase without restarting the entire hotel from Level 1. Essential for nervous first-time Hollow runners who already spent twenty minutes reaching Level 3 smoke. Not “skill,” but high practical value when the badge and Ofuda Survival Kit are on a deadline.
Ofuda (quest item — not a shop dump)
Ofuda talismans are objectives, not something you casually buy as permanent power. You pull them from Boxes after Keys, place them on marked floors, and bait/survive activation. During The Hollow collaboration they are the spine of Levels 1–2 clears and the path into the peephole badge. Rank them S for quest progress even though they are not a Zeni SKU—without placing Ofuda you never finish.
B tier — helpful luxuries
Super / premium flashlight & sneakers (Robux)
Permanent brightness or dash tiers remove timer anxiety. Great if you main PETAPETA weekly; overkill if you only need one Hollow clear for UGC and rewards.
Spirit Bell (Zeni)
Rings near key items. Acts like a soft ESP for Keys/papers without an executor. Strong teaching tool alongside the level walkthrough, weaker once you memorize spawn logic.
Luxury sneakers (dash speed)
Movement speed stacks with Onigiri. Nice for long corridor kites; still loses to raw stamina sustain if you must choose one B-budget upgrade.
C tier — low priority for Hollow weekend clears
Paint spray / cosmetics
Fun, zero survival impact. Buy after Onigiri and flashlight.
Excess Party Poppers before stamina
Stockpiling poppers while running base stamina is a common mistake. One panic stun does not fix chronic no-sprint deaths.
Script “loadouts”
ESP hubs listed on the Scripts Hub are not gear tiers—they are ban risks. They do not belong on a legitimate loadout board.
Hollow quest loadout snapshot
| Slot | Recommendation |
|---|---|
| Vision | Better Flashlight or higher; graphics ≥ 4 |
| Stamina | Onigiri before anything cosmetic |
| Panic | 1–3 Party Poppers for Levels 2–3 dials |
| Safety net | Revive if you are badge hunting on a timed event |
| Objective | Follow Ofuda place → hide loop; peephole on L3 |
| After badge | Floor 8 pedestal claim (see quest checklist) |
Normal full-hotel notes
Past Level 3, keep ranking Onigiri > flashlight > sneakers, demote poppers as floors disable or outscale them, and lean harder on closet discipline from controls and hiding. Zeni scooped from drawers and pillows funds the next lobby shopping trip—loot while you hunt codes.
How to use this hub
- Spend first Zeni on Onigiri + Better Flashlight.
- Add poppers only after you can sprint reliably.
- Open Getting Started if shop UI or queues confuse you.
- For event steps, keep Guides Hub and Codes Hub nearby so loadout choices match real objectives.
Tiers will shift if Omochi Studio retunes stun duration or shop prices; the philosophy stays: see more, run longer, stun sparingly, place Ofuda cleanly.
Frequently Asked Questions
Quick answers to the most common questions.
What should I buy first with Zeni?
Onigiri for stamina, then a Better Flashlight. Add Party Poppers after you can sustain sprints during chases.
Are Party Poppers still good on every floor?
They are strong on early and mid floors, including Hollow Levels 1–3, but weaken or disable on some late normal chapters.
Is Ofuda a shop item I should tier?
Ofuda are quest pickups from Boxes. They are mandatory for progression even though you do not buy them like Onigiri.
Do revives matter for The Hollow badge?
Optional but high value if you are close to the Level 3 peephole and cannot risk a full restart before the event ends.